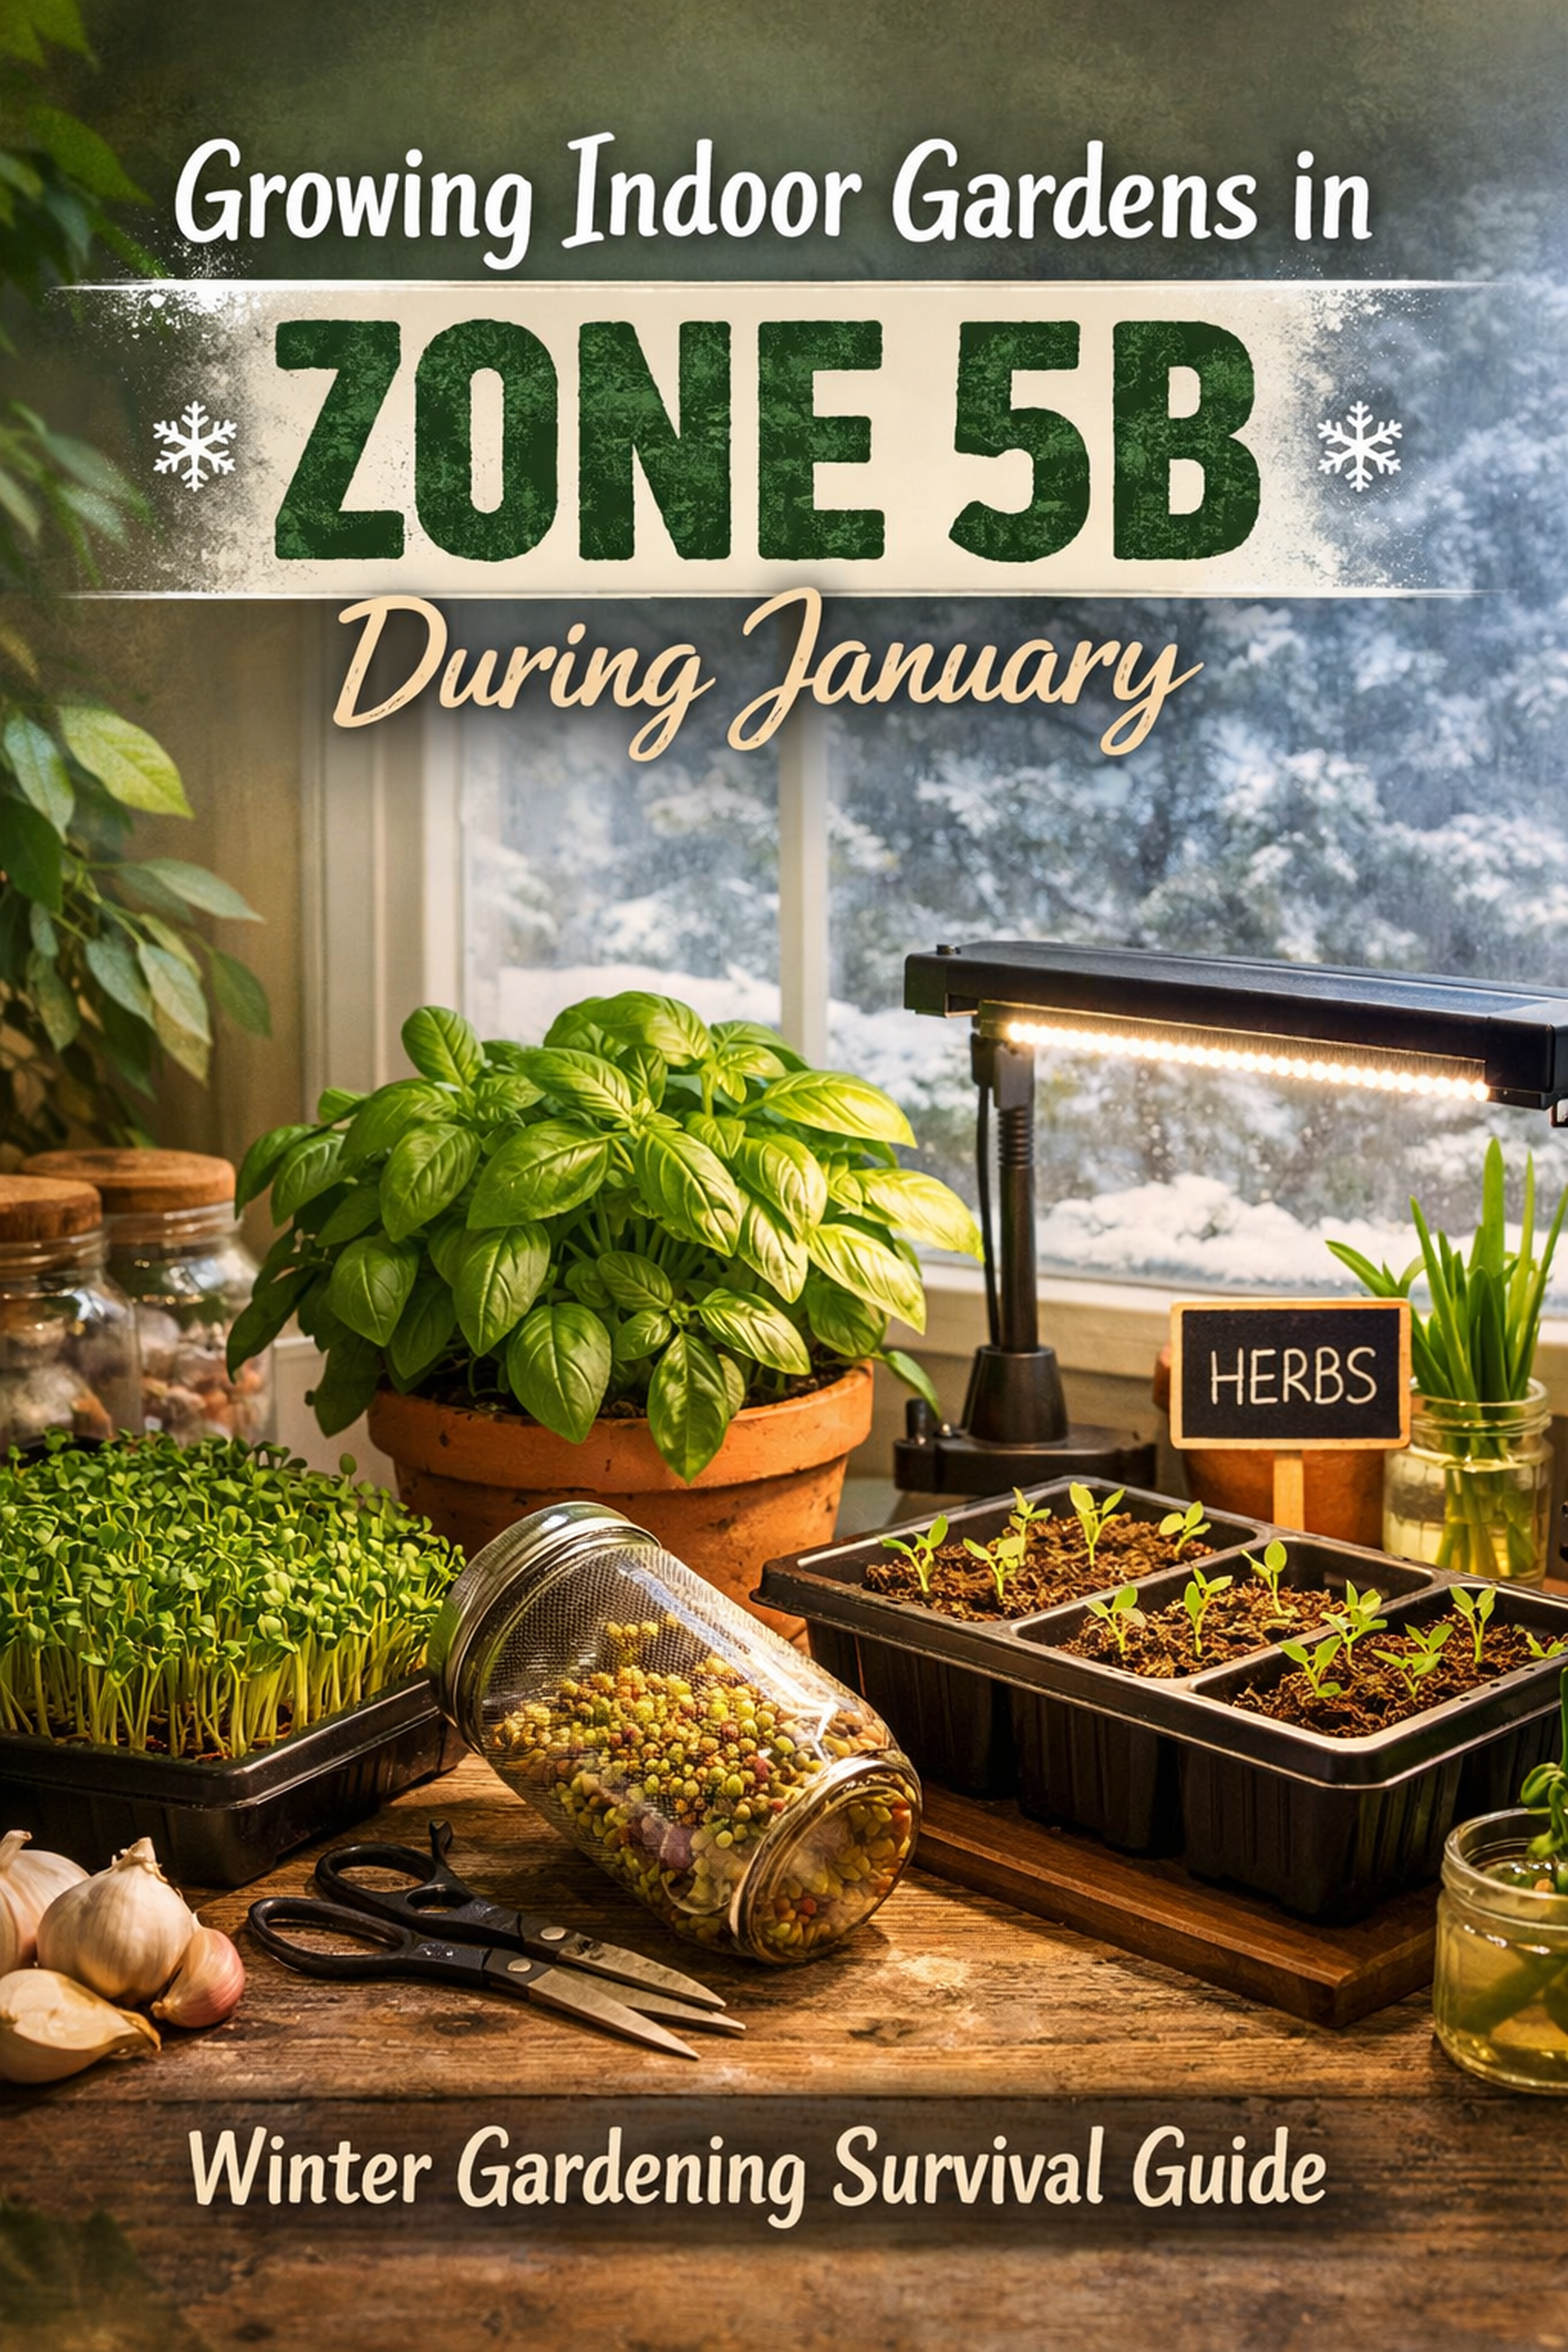
If you want a stronger spring garden, seed starting is the cheat code. You get a head start, you can grow varieties you’ll never find at the store, and you get to watch the whole thing go from seed → sprout → transplant → harvest.
This post is built from my Seed Starting Guide infographic and expands it into a full playbook you can follow every season.
Why Start Seeds Indoors?
- Earlier harvest: Especially for tomatoes, peppers, and long-season crops.
- More variety: Grow the weird, rare, and delicious stuff.
- Healthier plants: You control light, water, and spacing from day one.
- Cheaper: A seed packet can replace dozens of starter plants.

Supplies: What You Actually Need (No Fluff)
You can go as simple or as fancy as you want, but these are the real “must-haves”:
Light and well-draining. Avoid heavy garden soil indoors.
Clean containers + drainage holes are non-negotiable.
The easiest way to prevent leggy seedlings (windows are rarely enough).
Everything looks the same at two weeks old. Label it now.
Gentle watering so you don’t blast seeds out of place.
Helpful for germination, especially for warm-season crops.
Quick tip: Start with the basics. You can upgrade later—your plants don’t care about fancy gadgets.
Seed Starting Mix (This Matters More Than You Think)
Seed starting mix is different than potting soil. It’s designed to be light, sterile, and airy so seeds germinate without rotting.
- Good mix = fluffy, holds moisture, drains well.
- Avoid = heavy soil that stays wet and compacts.
- Best practice: pre-moisten your mix before filling trays (wrung-out sponge feel).
Trays & Containers
Use cell packs, small pots, soil blocks, or whatever you like—just make sure it drains.
- Wash and sanitize reused trays to reduce disease.
- Deeper cells help crops like tomatoes develop stronger roots early.
- Bottom trays are great for bottom-watering later.
Timing: When to Start Seeds Indoors
The easiest way to time seed starting is counting backwards from your average last frost date.
- Tomatoes: ~6–8 weeks before last frost
- Peppers: ~8–10 weeks before last frost
- Broccoli/Cabbage: ~4–6 weeks before last frost
- Herbs: varies, many ~6–10 weeks
How to Sow Seeds (The Simple Process)
- Pre-moisten seed mix.
- Fill trays (don’t pack it down like cement).
- Sow seeds at the correct depth.
- Label immediately.
- Cover lightly (mix or vermiculite), mist if needed.
- Humidity (dome/plastic) until sprout.
How Deep to Plant Seeds
A solid rule of thumb: plant seeds about 2–3x the thickness of the seed. But always defer to your seed packet for that crop.
- Tiny seeds (lettuce, basil): often surface-sown or very lightly covered.
- Medium seeds (tomato, pepper): usually about 1/4 inch deep.
- Large seeds (beans, peas, corn): usually deeper and often better direct sown.
Germination Temperature (Warm vs Cool Crops)
Seeds don’t “care” about air temperature as much as they care about soil temperature.
Cool-Soil Crops
These can germinate in cooler conditions and don’t need a heat mat.
- Lettuce
- Spinach
- Broccoli
- Peas (often direct sown)
Warm-Soil Crops
These often germinate faster and more evenly with warmer soil.
- Tomatoes
- Peppers
- Basil
- Cucumbers & melons (often direct sow or start carefully)
MTGG tip: If germination is slow and uneven, your soil is usually too cold (or too wet).
Light: How to Stop Leggy Seedlings
This is the #1 reason indoor seedlings fail. Once seedlings emerge, they need bright light immediately.
- Use a grow light if possible.
- Keep the light close and adjust upward as they grow.
- Run your lights for a long “day” (many gardeners aim for 12–16 hours).
Watering (Moist, Not Soggy)
Overwatering causes fungus, algae, and damping-off. Underwatering stresses seedlings and stunts growth.
- Soil should feel like a wrung-out sponge.
- Bottom-water once seedlings are established to avoid splashing soil onto stems.
- Empty standing water from trays after they soak up what they need.
When to Fertilize (And What to Use)
Seeds contain enough energy to sprout, but seedlings will eventually need nutrients.
- Once you have true leaves (not just the first “baby” leaves), you can start light feeding.
- Use a gentle, diluted fertilizer or compost-based liquid feed.
- Too strong = burned roots and stalled seedlings.
Thinning (Yes, It Hurts… But Do It)
If you plant multiple seeds per cell, thin to the strongest one. Crowded seedlings compete for light and nutrients and become weak.
- Snip extras at the soil line instead of yanking roots (less disturbance).
Potting Up (The Secret to Big, Healthy Transplants)
When roots fill the cell or plants stall, move them to a larger pot with quality potting mix.
- Tomatoes can be potted deeper to encourage more roots along the stem.
- Don’t “oversize” too fast—tiny seedlings in huge pots stay wet too long.
Airflow & Disease Prevention
Indoor seedlings love airflow. A small fan strengthens stems and reduces fungal issues.
- Gentle airflow only—don’t blast them.
- Water in the morning so surfaces dry before night.
- Use clean trays and fresh mix to reduce disease pressure.
Hardening Off (Don’t Skip This)
Hardening off is the process of slowly acclimating seedlings to wind, sun, and outdoor temperature swings.
- Start with a mild day in shade for 1–2 hours.
- Increase outdoor time daily.
- Gradually introduce morning sun.
- Bring plants in if it’s windy, freezing, or storming.
MTGG tip: This is how you prevent transplant shock. Strong outdoor plants start with a slow transition.
Transplant Day: How to Stick the Landing
- Transplant on an overcast day or late afternoon if possible.
- Water seedlings before planting.
- Plant at the correct depth (tomatoes can go deeper).
- Water in well and protect from cold nights if needed.
Troubleshooting (Quick Fixes)
More light + closer light + a little airflow.
Check soil temp, avoid soggy mix, consider a heat mat for warm crops.
Back off watering, add airflow, and remove humidity cover sooner.
Could be low nutrients or watering stress—light feeding after true leaves helps.
Quick Boxes
My Simple Seed-Starting Flow
Germination Mode
- Pre-moisten mix
- Sow + label
- Cover for humidity (optional)
- Warmth if needed
Seedling Mode
- Remove cover
- Bright light immediately
- Water carefully
- Airflow + spacing